Last updated November 21, 2026
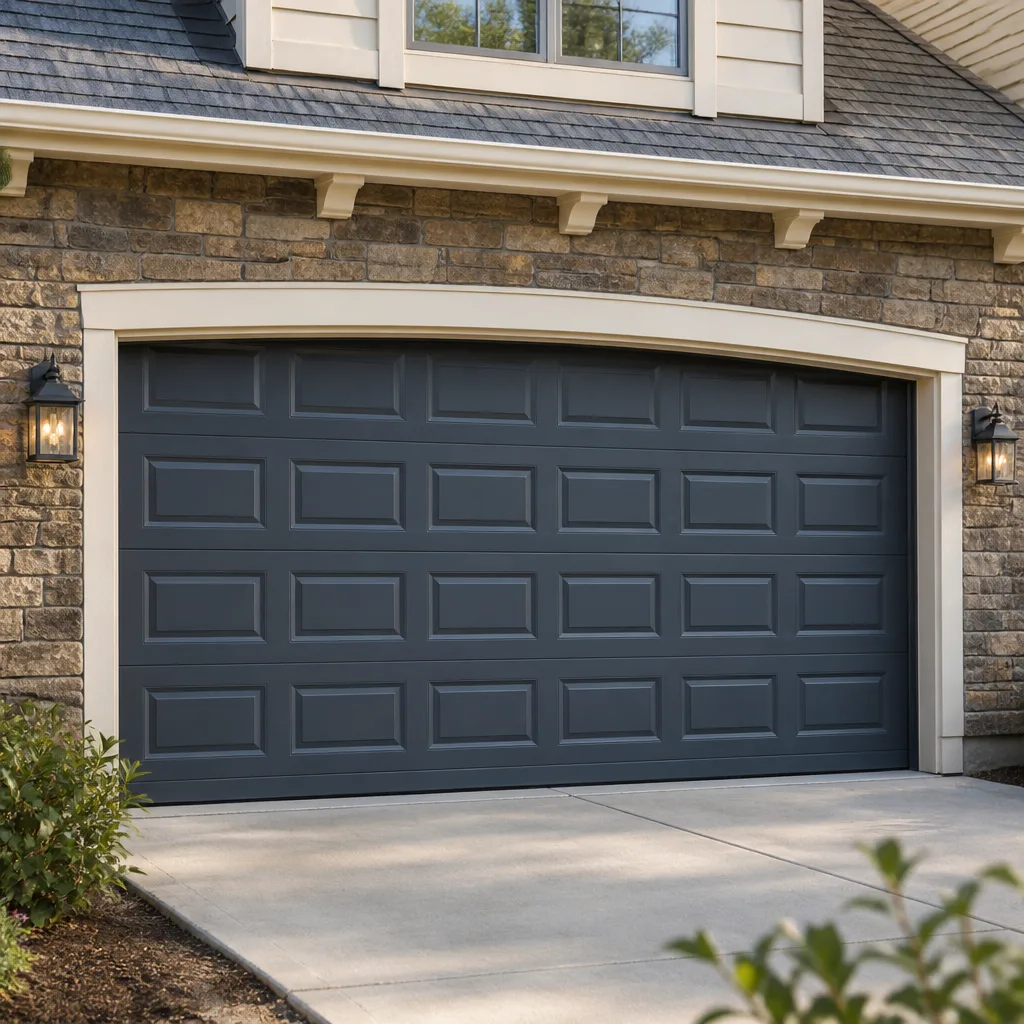 Raised-panel steel
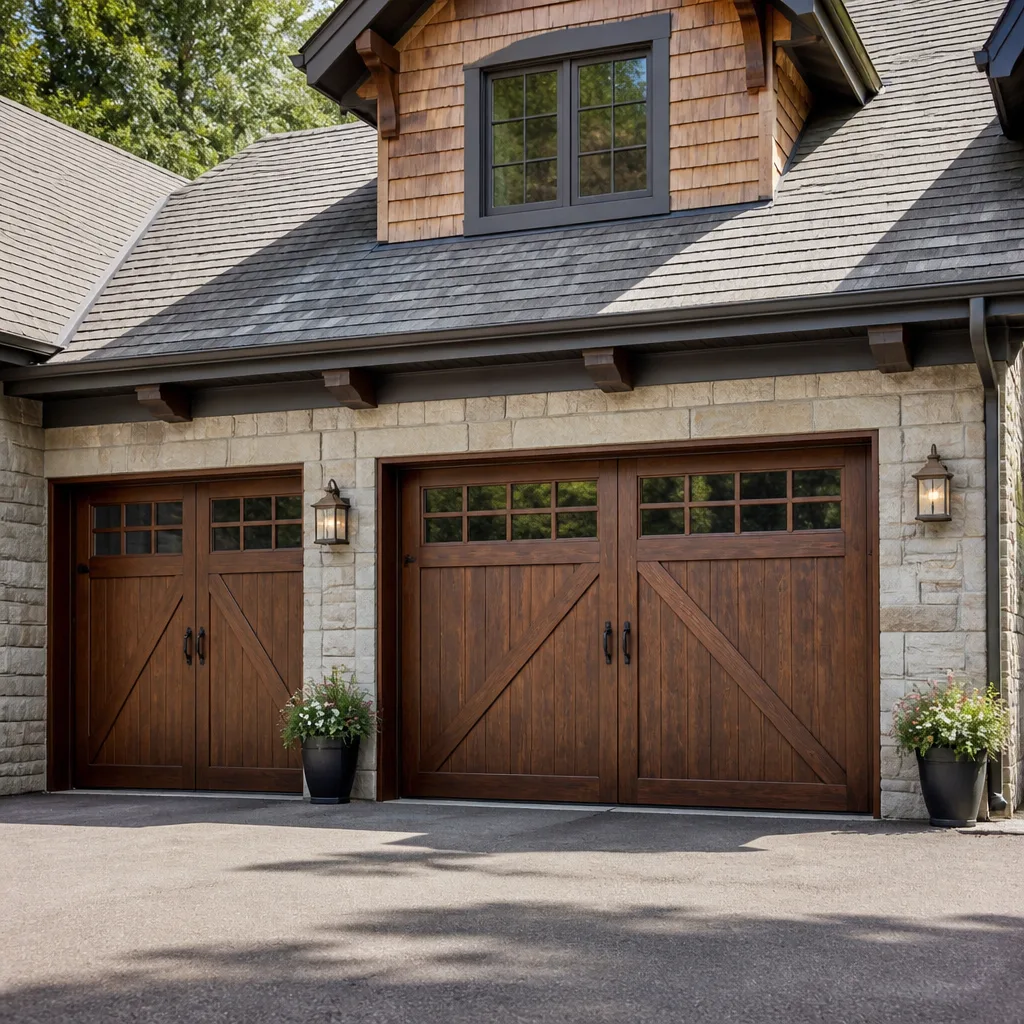 Carriage house
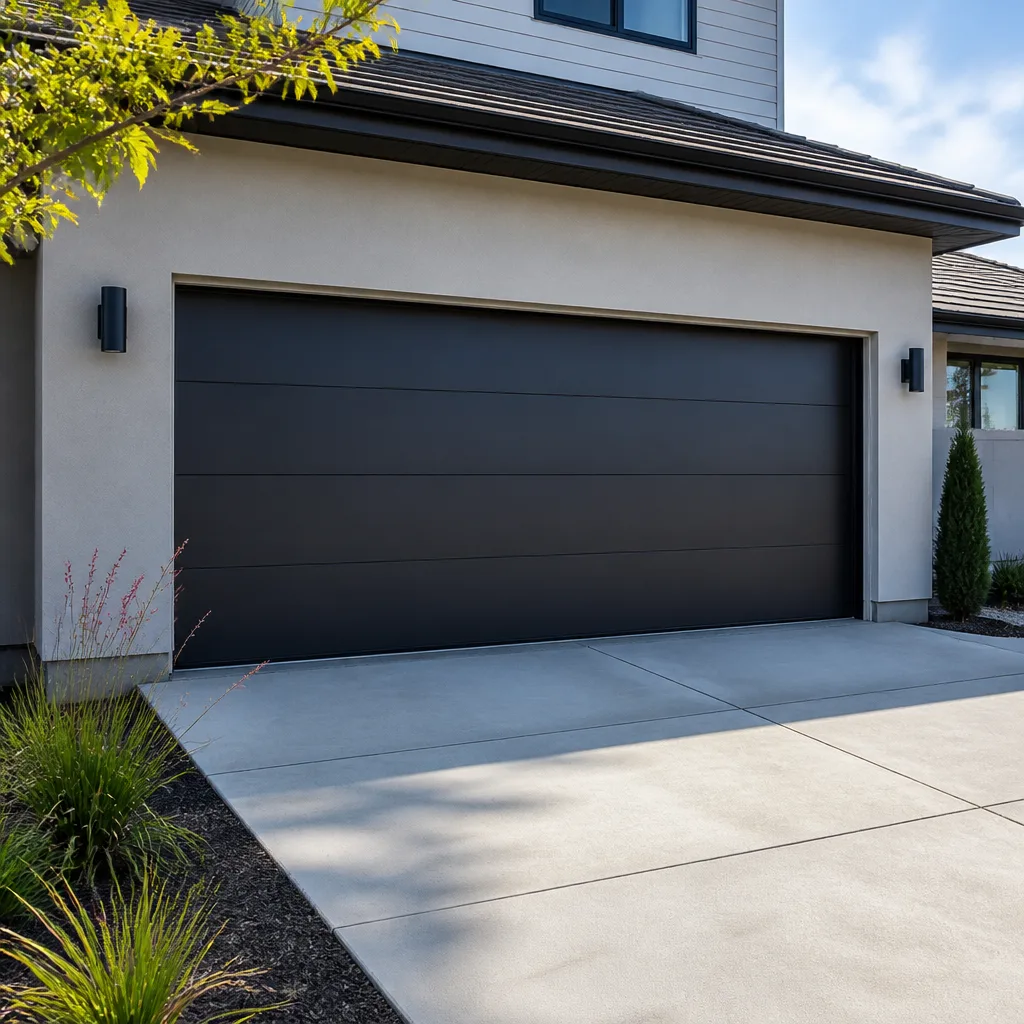 Modern flush
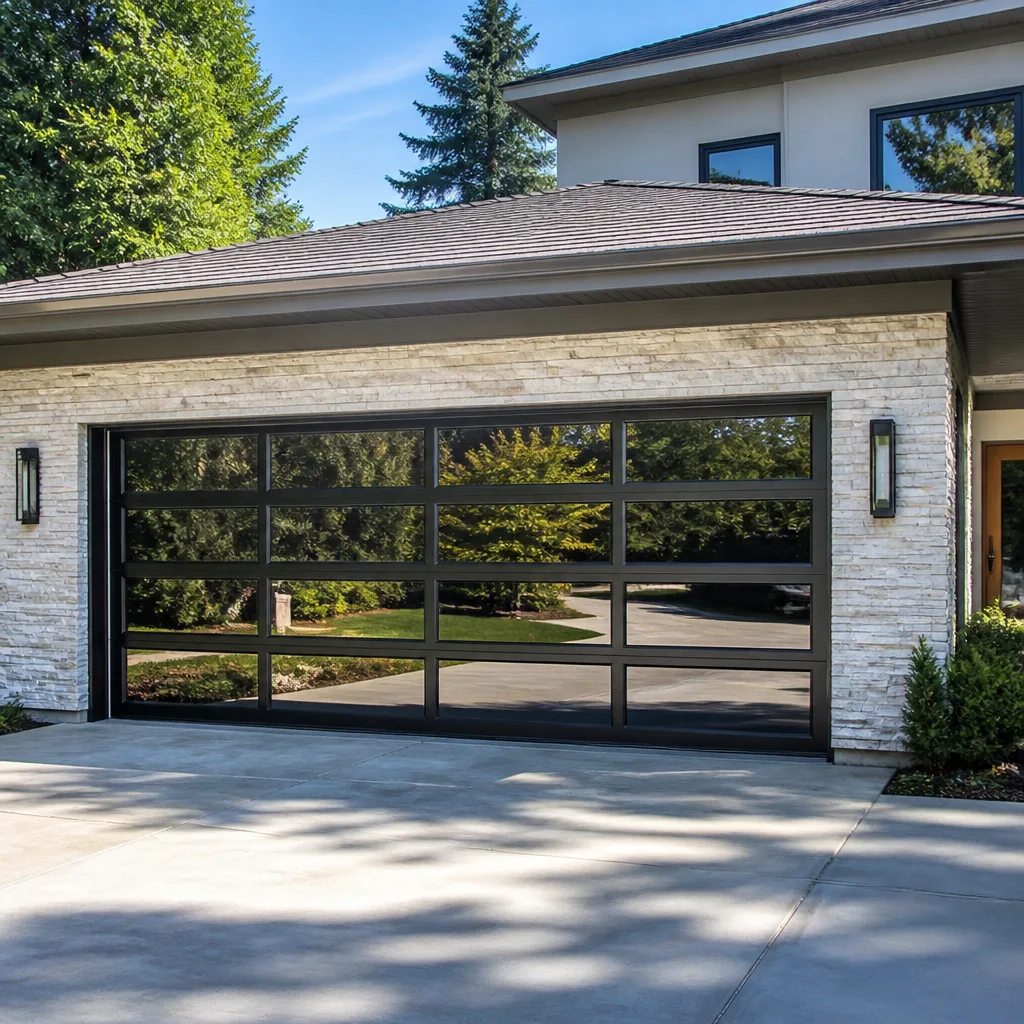 Full-view glass
 LiftMaster openers
 Chamberlain openers
Full 25-point door and opener safety check with every visit - springs, cables, rollers, tracks, and your LiftMaster or Chamberlain opener included
You get a price before we start. It does not change when the pro arrives.
Get your free estimateGarage Door Repair Maintenance Checklist for Oxford Circle Homeowners
The task homeowners skip isn’t lubrication. It’s the ten-second balance test that tells you whether your springs are already failing, long before one snaps in a cold snap and traps the car. Most people maintain their door the way they maintain a smoke alarm: they wait for it to make noise. In Oxford Circle, where rowhouse garages sit off alleys and older concrete slabs have had decades to shift, that order of operations gets you into trouble. This guide sequences every check by consequence rather than convenience. You’ll learn what to look at, what “off” actually feels like, and what you’re deciding after each check.
Quick Answer
A garage door maintenance checklist for Oxford Circle should start with the balance test, not lubrication. Run the door by hand, stop it halfway, and see whether it stays put; if it drops or rises on its own, your springs are unbalanced and need a professional look before anything else. After balance, check the safety reverse, inspect rollers and tracks for settling-related misalignment, then lubricate the correct parts only. Spring, cable, and high-tension hardware work should always go to a trained technician.
Styles & brands we work with
- Raised-panel steel
- Carriage house
- Modern flush
- Full-view glass
- LiftMaster openers
- Chamberlain openers
Table of Contents
- The Balance Test: Your First and Most Important Check
- Testing the Safety Reverse System
- Corrosion Checkpoints for Alley-Facing Garages
- What to Lubricate, What to Leave Alone
- Roller and Track Inspection on Settled Slabs
- Opener and Smart System Checkups
- An Oxford Circle Seasonal Schedule
- When to Call a Professional
The Balance Test: Your First and Most Important Check
The balance test tells you in about ten seconds whether your springs are carrying the door’s weight the way they should. It’s the single most useful maintenance task in the whole checklist, and it’s the one almost nobody performs.
Here’s how it works in practice. Close the door, then pull the manual release cord to disconnect the opener. Lift the door by hand to about halfway and let go. A properly balanced door stays roughly where you left it. An unbalanced door wants to fall or wants to rise on its own – either direction is a signal that spring tension is off. That’s it. No tools, no ladder.
The subtle part is knowing what “off balance” feels like. A door that feels heavy when you lift it, then slams down, points to worn torsion springs. A door that practically lifts itself and hovers too high points to over-tensioned springs. Both are dangerous, and both mean you should stop running the opener and call a professional rather than try to adjust anything yourself. Torsion springs on a residential door hold enough stored energy to cause serious injury if a winding bar slips or a spring lets go unexpectedly. No homeowner should be adjusting spring tension.
In Oxford Circle, the balance test matters more than it does in newer construction because many homes here have doors that were installed years before the current one moved in. Springs have a finite cycle life, and a door that was last serviced long before you arrived may be running on springs closer to failure than you’d guess. If the balance test feels wrong, that’s your no-go signal. Don’t wait for the snap.
Testing the Safety Reverse System
Your opener’s safety reverse is the feature that stops the door from closing on a child, a pet, or a car hood. Federal standards have required it on openers for decades, but the mechanism wears and needs testing on a regular schedule – monthly is the standard interval.
- Photo-eye check: With the door open, wave an object through the beam path between the two sensors near the floor. The door should stop and reverse immediately. If nothing happens, the eyes are misaligned, dirty, or the wiring has failed.
- Pressure reverse check: Place a flat object like a 2×4 laid flat on the ground in the door’s closing path. Close the door. It should reverse on contact with the object without crushing it.
- Alignment check: Both photo-eye lenses should be clean and aimed at each other. Sun glare can fool older eyes; a small sun shield helps.
If the door fails either test, that’s a hard no-go: don’t run the door again until it’s fixed. Safety reverse failures are usually an opener issue, an alignment issue, or a wiring issue – and all three are quick to diagnose with the right equipment. For LiftMaster, Chamberlain, Genie, or Craftsman openers, a technician who works on those systems regularly will recognize the failure pattern in minutes. A garage door opener repair call handles the fix.
Corrosion Checkpoints for Alley-Facing Garages
In Oxford Circle, rowhouse garages often face the alley rather than the street, and that changes what corrodes first. Alley surfaces collect road salt spray from plow trucks and carry dripping water from downspouts and grading. Parts that stay dry on a street-facing door may be the first ones to rust on an alley-facing door.
Look at these specific spots:
- Bottom brackets and hinges: The lowest hinges and the bottom bracket get the most splash from wet alleys and standing puddles. White rust or bubbling paint here is a heads-up.
- Bottom weather seal: A rubber seal that’s cracked or torn lets water sit against the door’s bottom edge, which rusts the panel skin from beneath.
- Roller stems and track edges: Rust on roller stems means the roller is on borrowed time. Rust on track edges means the door is dragging tiny amounts each cycle.
- Cable ends and drums: Rust on cable windings or drum edges is a stop sign – call a professional before the cable fails. Cables carry the door’s full weight under tension and are not a DIY part.
- Panel seams: Water trapped along the seam between panels causes rust streaks that go unnoticed until a panel needs replacing.
A no-go decision here is: any rust on load-bearing hardware (cables, drums, spring hardware) means stop and call. Surface rust on a bottom bracket or hinge is a clean-and-coat job – remove loose rust, apply a rust-inhibiting primer, done. Most steel panels from manufacturers like Clopay and Amarr will hold up well if you catch surface rust early.
What to Lubricate, What to Leave Alone
Lubrication is where well-meaning maintenance goes wrong. Some parts need it regularly; some should never be touched with a lubricant, and adding lubricant to the wrong part can cause slippage or hide a failure you needed to see.
Lubricate these:
- Hinges – a drop of light garage door lubricant at each pivot, once or twice a year.
- Roller stems (the metal shaft inside the roller), not the roller wheel itself.
- Track curves and track joints, with an even, light spray.
- The torsion spring coils, a very light coating to keep rust at bay – but never while the door is under tension if you’re not trained. Better to have a technician do this during a service call.
Never lubricate these:
- The safety reverse photo-eye lenses or the rubber gasket on the bottom seal – lubricant collects dirt and can impede the seal.
- The opener’s drive belt or chain if it’s a sealed unit – check the manual or ask a technician.
- Any part of the spring winding mechanism. It’s a tension-critical zone and lubricant there does more harm than good.
Use a white lithium or silicone-based garage door lubricant, not WD-40 or household oil. The no-go decision: if lubrication doesn’t quiet a squeal, the noise is telling you about a worn part, not a dry one. That’s a call a technician should make.
Roller and Track Inspection on Settled Slabs
Older concrete slabs are common in Oxford Circle, and both the door’s concrete threshold and the garage floor behind it have often settled over time. That shift shows up as rollers riding crooked, tracks bowing out of plumb, or the door grabbing on one side as it rises.
Run the door halfway up and look down each vertical track from the floor. The track should look like a straight line from top to bottom, and the gap between the track and the door edge should be consistent. Here’s what to check and what each result means:
- Track is plumb and parallel: Pass. Rollers should slide with no grind.
- Track bows out at the bottom where the floor settled: A gentle bow can be straightened with track adjustment, which is a service call. Don’t try to force it with a mallet – bending a loaded track is dangerous and can pop a roller out under pressure.
- Rollers are visibly flat-spotted or cracked: Replace. Flat-spotted rollers grind the track, which is more expensive to fix than the roller itself.
- Rollers are noisy but intact: Lubricate the stems and re-check.
- Any track has visible cracks or bolts missing from the flag bracket: No-go. Stop running the door.
If one side of your door drags while the other lifts cleanly, that’s a sign of either a bent track or an unbalanced spring. The balance test at the top of this checklist tells you which. When it turns out to be track work, garage door repair is the call – a technician can true the track and dial in the spring in one visit.
Opener and Smart System Checkups
Modern openers have more software than hardware, and the maintenance question changes as a result. A checkup on a connected opener looks different from a checkup on a legacy chain-drive unit, but both should happen at the same yearly rhythm.
For any opener, check the following once a year:
- Force adjustment: The opener should lift and lower the door without strain. If the opener strains or reverses during the down cycle, this needs a technician’s adjustment.
- Battery backup: If your opener has one (many newer LiftMaster and Chamberlain models do), test it by unplugging the opener and running one cycle. A dead backup battery won’t lift the door in a power failure.
- Remote and keypad: Replace remote batteries and reprogram if a remote stops responding. If two remotes both fail, the receiver is the issue, not the batteries.
- App connectivity: For Chamberlain myQ or Genie Aladdin Connect setups, open the app and confirm the opener reports status and responds. The fix for most dropped connections is a Wi-Fi re-pair, not a hardware replacement.
For a Genie or LiftMaster system that’s behaving strangely, the early check is almost always the same: confirm power, check the safety reverse, then look at the wall control. When an opener starts cycling short, running by itself, or refusing to close without holding the wall button down, that’s an opener problem and a call to a specialist. Our technicians have up to 13 years of experience diagnosing opener faults on LiftMaster, Chamberlain, Genie, and Craftsman systems – the kind of brand-specific knowledge that saves a wrong-part purchase.
An Oxford Circle Seasonal Schedule
Door maintenance isn’t year-round at the same intensity. Here’s how we’d sequence it across the calendar in Oxford Circle.
- Early spring (after the last salt season): Corrosion checkpoints on alley-facing doors. Wash salt spray from hinges and bottom brackets, apply rust-inhibiting primer where needed.
- Mid-spring: Full balance test, safety reverse test, and lubrication. This is the annual service visit if you use one.
- Summer: Track and roller inspection on settled slabs. Hot weather is when wrapping and binding show up most, because the concrete expands slightly and door components expand with it.
- Early fall: Weather seal check before the first cold snap, and a second balance test ahead of cold weather.
- Winter: Test the opener’s force adjustment and backup battery. Cold is when opener electronics misbehave and springs are most brittle. If the balance test flagged anything in early fall, get it fixed before winter, not after.
The no-go decision for the seasonal schedule: any check that fails in fall should be fixed before the first hard freeze. Cold-weather spring failures are more common than warm-weather ones because steel loses some elasticity in low temperatures. The extra minute of checking in October saves a call in January.
Common Mistakes to Avoid
- Lubricating everything in sight. WD-40 and household oil sound harmless, but they collect dust and gum up rollers and hinges. Use garage door lubricant only, and only where it belongs.
- Skipping the balance test because the opener still works. An opener can haul a failing door up and down for weeks. By the time it stops, the spring may already be broken – or worse, it lets go mid-cycle.
- Trying to tighten track bolts without checking plumb. Overtightening a bowed track on a settled Oxford Circle slab can crack the bracket. The track needs to be adjusted, not cranked.
- Ignoring rust on alley-side hinges until paint peels. Surface rust is a clean-and-coat job. Once the panel starts rusting from beneath the seal, it’s a panel replacement.
- Adjusting spring tension yourself. Even experienced homeowners get hurt doing this. A torsion spring stores more energy than most people realize – leave it to a trained technician.
- Assuming the safety reverse still works because it did last year. Photo-eye lenses drift, and dirt accumulates. Test monthly, not yearly.
- Buying a replacement opener without checking compatibility. LiftMaster, Chamberlain, Genie, Craftsman, and the rest each use their own remotes and wall controls. A new opener often means new accessories too, which a good installer will know to factor into the price.
When to Call a Professional
Some items on this checklist are homeowner territory: the visual inspection, the lubrication, the balance test itself. Others should be no-go decisions that trigger a call. Broken or visibly sagging springs, cables that are frayed or off their drums, a door that falls rather than holds on the balance test, a safety reverse that fails repeatedly, and any track that’s bent or has missing bolts all fall into that category. So does an opener that runs by itself, reverses repeatedly, or stops responding to wall controls and remotes.
If you’re planning a new door or a major replacement, don’t guess at brand and style. A garage door installation decision involves measuring for headroom, matching the panel style to the home’s era, and choosing an opener that fits the way you live. Garage Door Repair Oxford Circle offers free estimates in Oxford Circle – call (855) 658-4215 and we’ll book a visit that works around your schedule. We work on Clopay, Amarr, Wayne Dalton, Raynor, LiftMaster, Chamberlain, Genie, and Craftsman, so we can talk specific parts and specific fixes rather than generic advice. Our technicians have up to 13 years of experience.
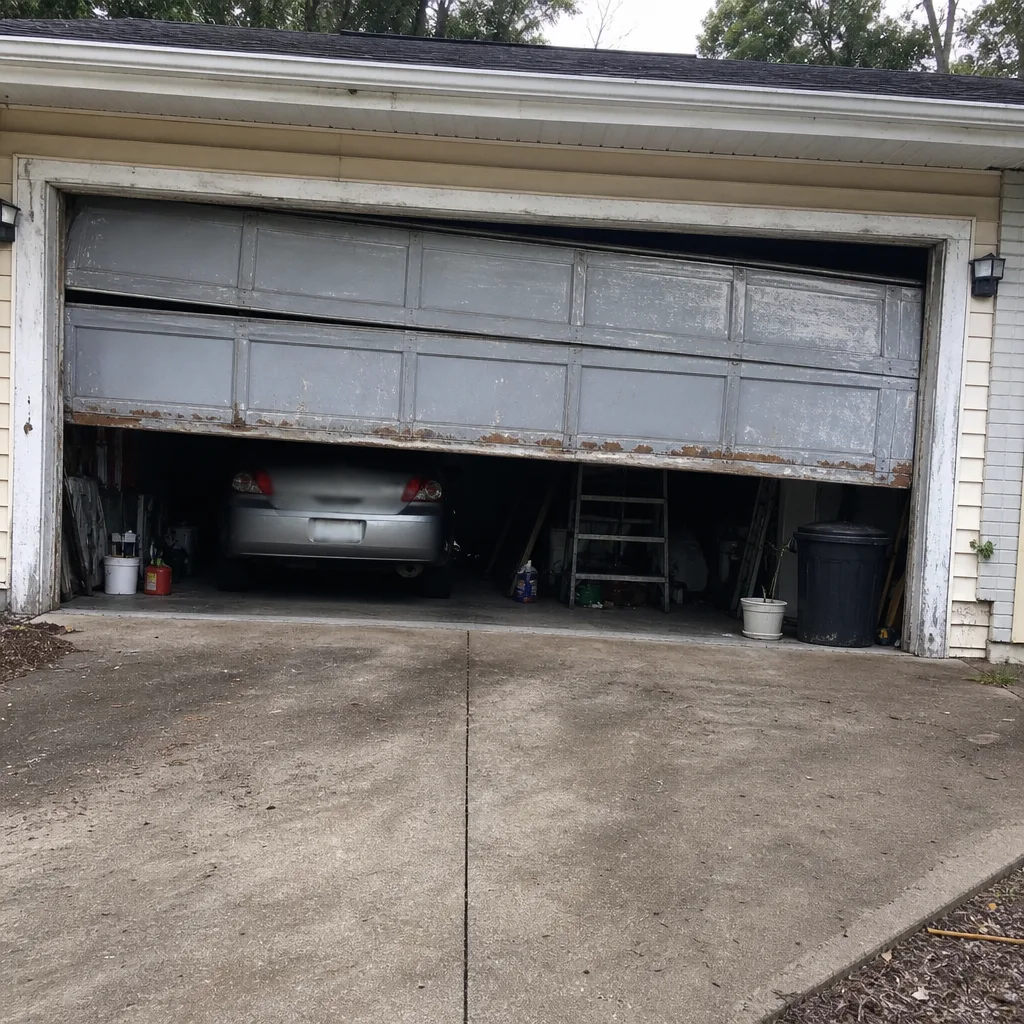
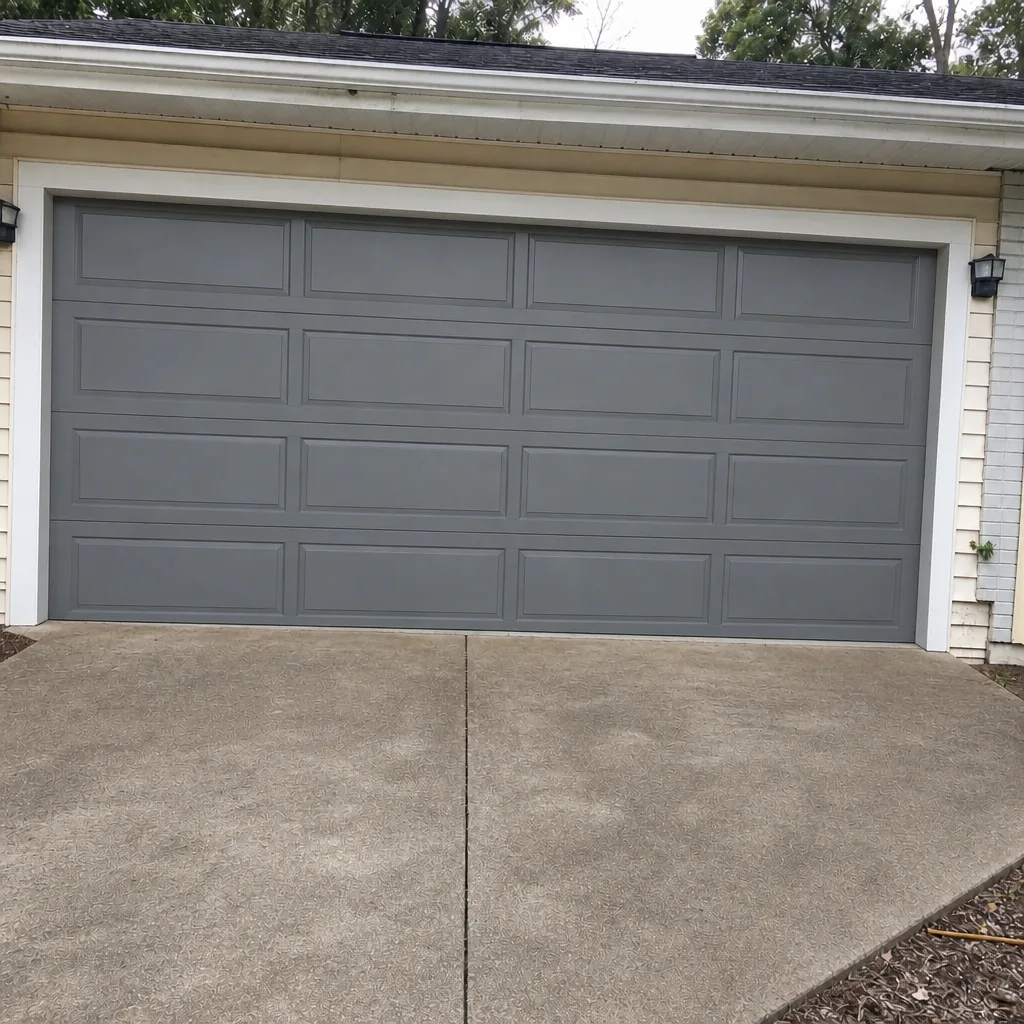
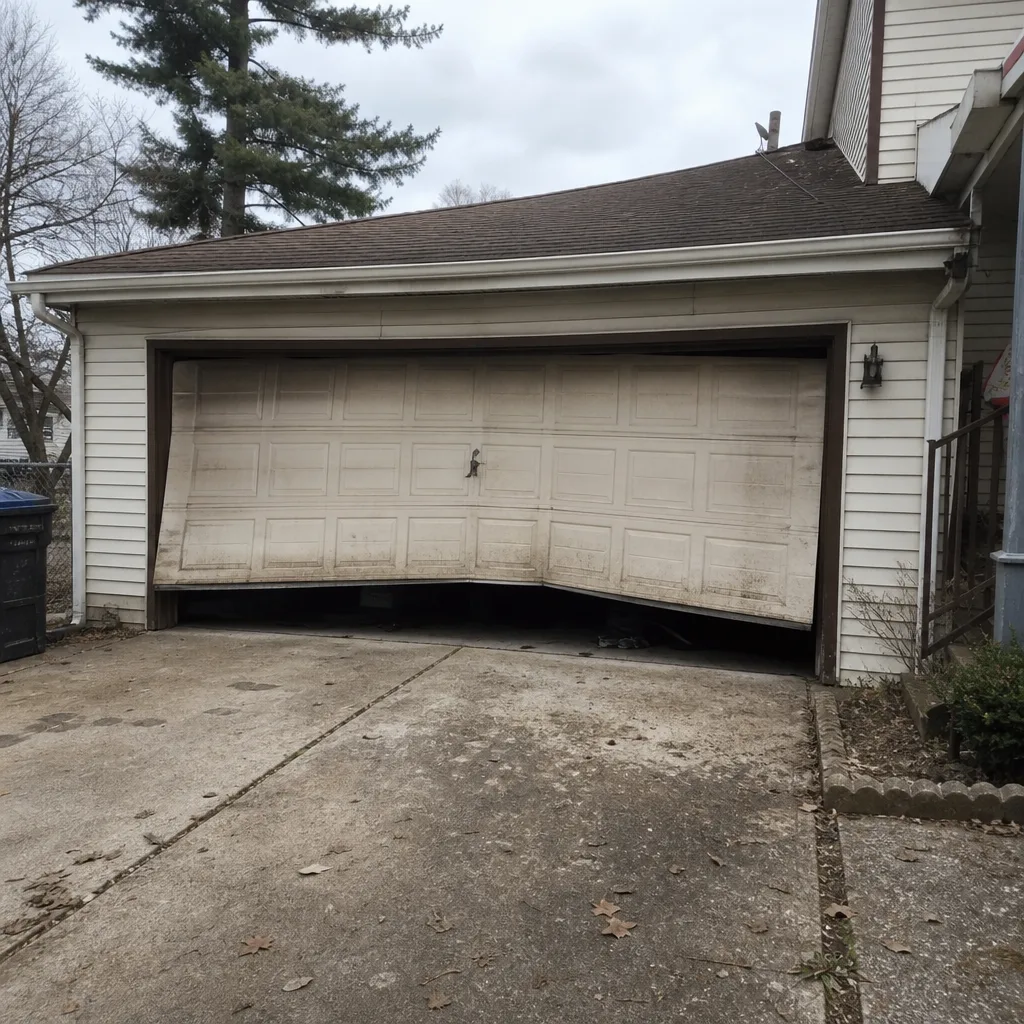
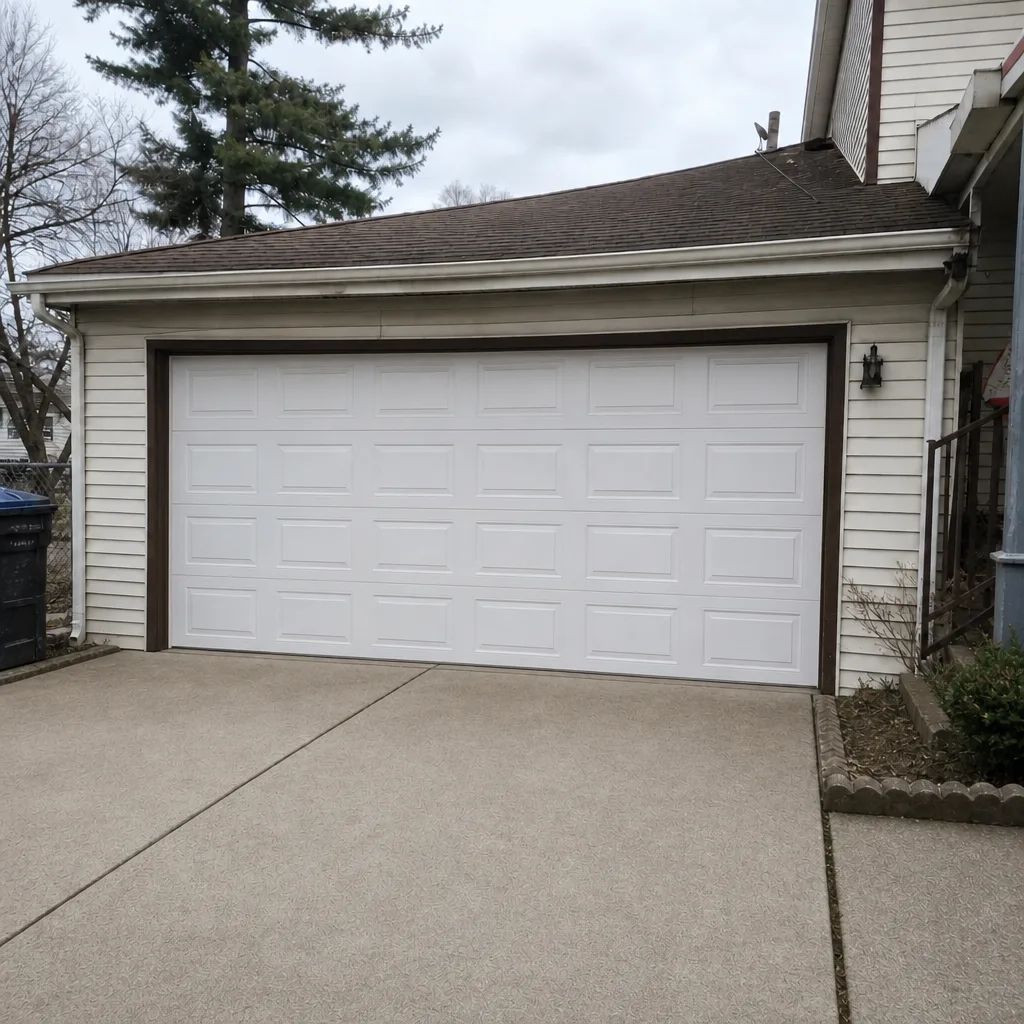
See the difference
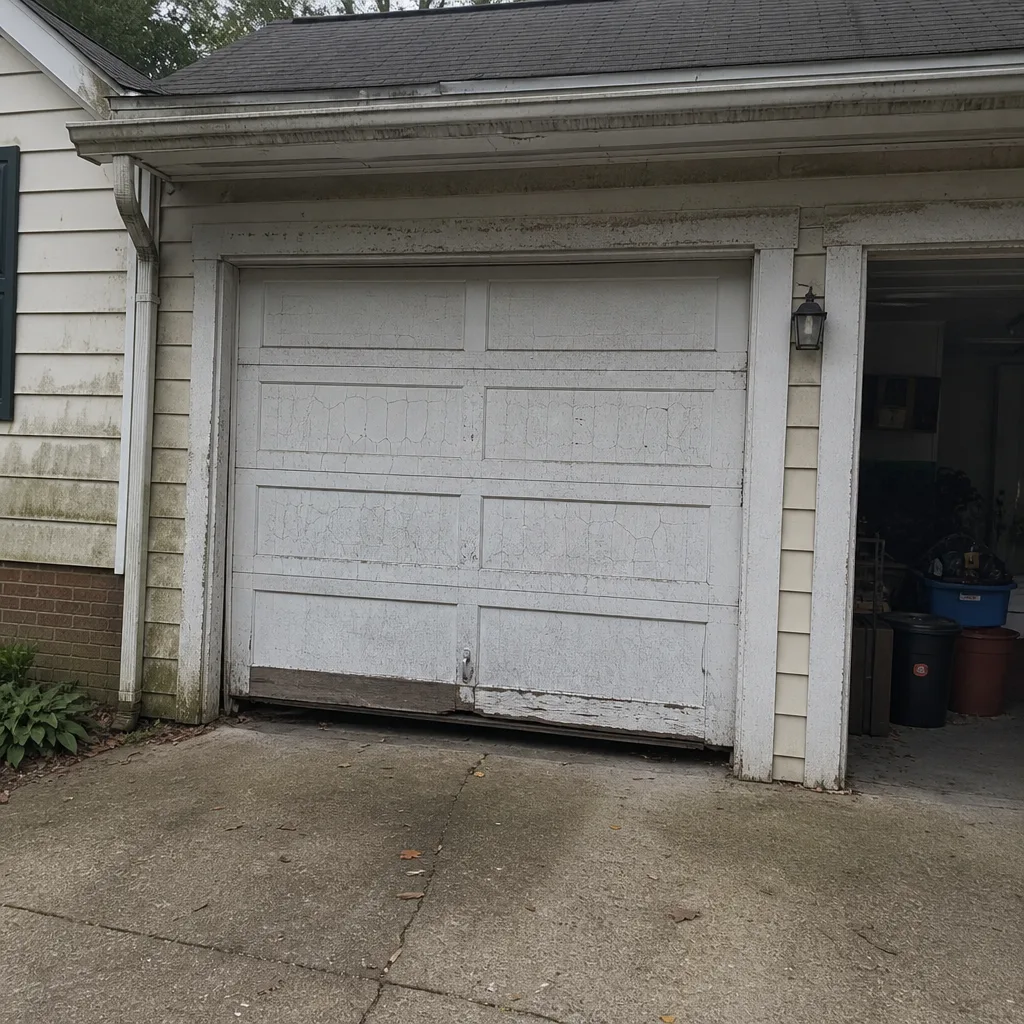 Before
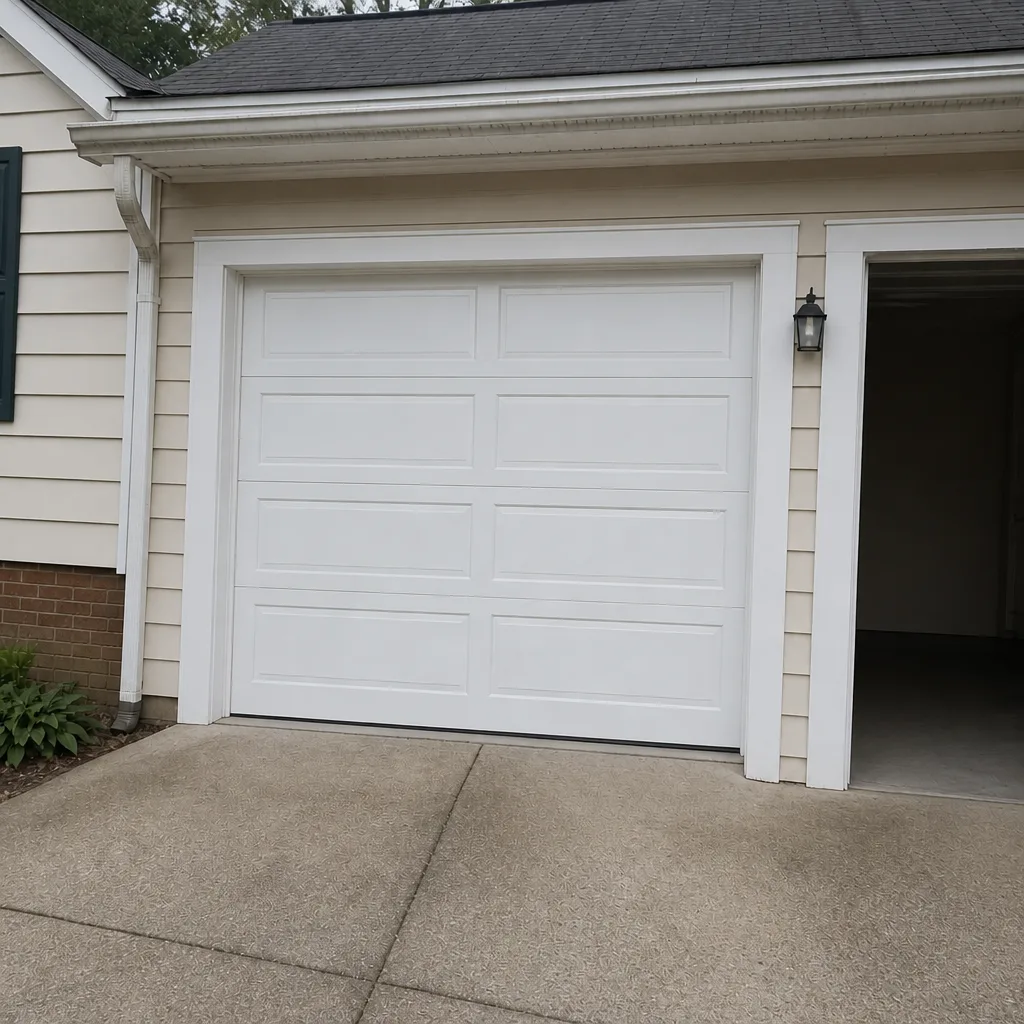 After
 Before
 After
 Before
 After
Frequently Asked Questions
Run the balance test about once a month. It takes ten seconds and it’s the earliest signal that spring tension is drifting. In Oxford Circle, where a lot of doors are older than the current homeowner, monthly testing catches spring problems long before they become a failure.
You can apply a very light coat to the coils of an extension spring system if you’re careful and never touch the winding cones. Torsion springs are a different story – do not touch them, and have a technician handle the lubrication during a service call. Stored energy in a torsion spring is dangerous enough that the right answer is always professional.
Alley surfaces collect road salt spray from plow trucks, and downspouts and grading push water toward garage doors in alleys more than on streets. So the bottom brackets, hinges, and roller stems on an alley-facing door see more moisture and salt than the same parts on a street-facing door. Check them every spring after the last salt application.
Stand inside the garage with the door open and look down the vertical track from the floor. A properly set track is a straight line from top to bottom. A bowed track angles outward at the bottom or bulges around the middle. Any visible bow means the door is dragging and should be serviced, and if a roller is cracked or popping out of the track, stop running the door.
A failing safety reverse can be a photo-eye alignment issue, dirty lenses, or a disconnected wire, and none of those require a new opener. An opener that runs by itself, reverses without any obstruction in the path, or ignores wall controls is usually the opener itself. The safety reverse test at the top of this checklist tells you which side of that line you’re on.
Yes, at least once a year. The balance test and safety reverse check catch drift, and a technician can inspect the load-bearing parts (springs, cables, drums) at a level of detail most homeowners can’t do safely. Call (855) 658-4215 to book a visit and we’ll tell you honestly what’s due and what isn’t.
The Bottom Line
Garage door maintenance works best when you order the checks by consequence rather than by alphabetical convenience. Start with the balance test. Run the safety reverse test monthly. Watch the parts that corrode fastest on an alley-facing door – hinges, brackets, roller stems, seals. Lubricate the small set of parts that need it, and leave the tension-critical hardware to a trained technician. Chase the tracks for the settled-slab symptoms common in Oxford Circle. And treat every failed check as a no-go decision rather than a chore to defer. None of this requires special tools. It requires doing the checks in the right order, on the right schedule, and knowing when a stop sign means stop.
If anything on this checklist comes back as a fail, call (855) 658-4215 for a free estimate. We’ve seen every failure pattern these doors throw at homeowners in Oxford Circle, and we’d rather catch your spring before it snaps than after.
Written by the team at Garage Door Repair Oxford Circle.
Related Reading
- Garage Door Repair Oxford Circle – our main service page for this area, covering all repair and opener work.